

Gelmir Heros Grave Elden Ring
Quick Links
- Gelmir Hero'due south Grave Walkthrough
- Deeper Into The Depths
- Reddish Wolf of the Champion Boss Tips
- Gelmir Hero's Grave Rewards
Establish midway through the spiraling journey up Mt. Gelmir, the Gelmir Hero's Grave is one of Elden Ring 's more convoluted dungeons. In keeping with catacombs bearing the names of old heroes, Gelmir Hero's Grave is rife with dead ends, traps, and endlessly frustrating mechanized hazards.
Successfully navigating this subterranean sepulcher demands both skill and patience, though the reward may exist worth it for Elden Ring players eager to advance a detail character'southward questline.
Important Items:
- Fireproof Dried Liver: This craftable item temporarily boosts fire damage negation by 15% for sixty seconds. The cookbook for this item can exist establish in a small bandit encampment just due east of Agheel Lake Northward site of grace. Gelmir Hero'due south Grave is flooded with lava and includes a few enemies capable of ranged attacks which inflict fire damage, so adding this item to the hotbar may be a good thought.
- Spelldrake Talisman +1: A talisman that negates magical impairment. This may come in handy against the dungeon'southward dominate, which has a suite of magical attacks.
- Ash of War: Bloodhounds Step: Looted from a defeated Dark'southward Cavalry enemy located nigh Lenne'southward Rise in Caelid. The Bloodhound Step Ash of War lengthens the distance the thespian covers when dodging, which can exist helpful when crossing pools of lava.
Gelmir Hero'due south Grave Walkthrough
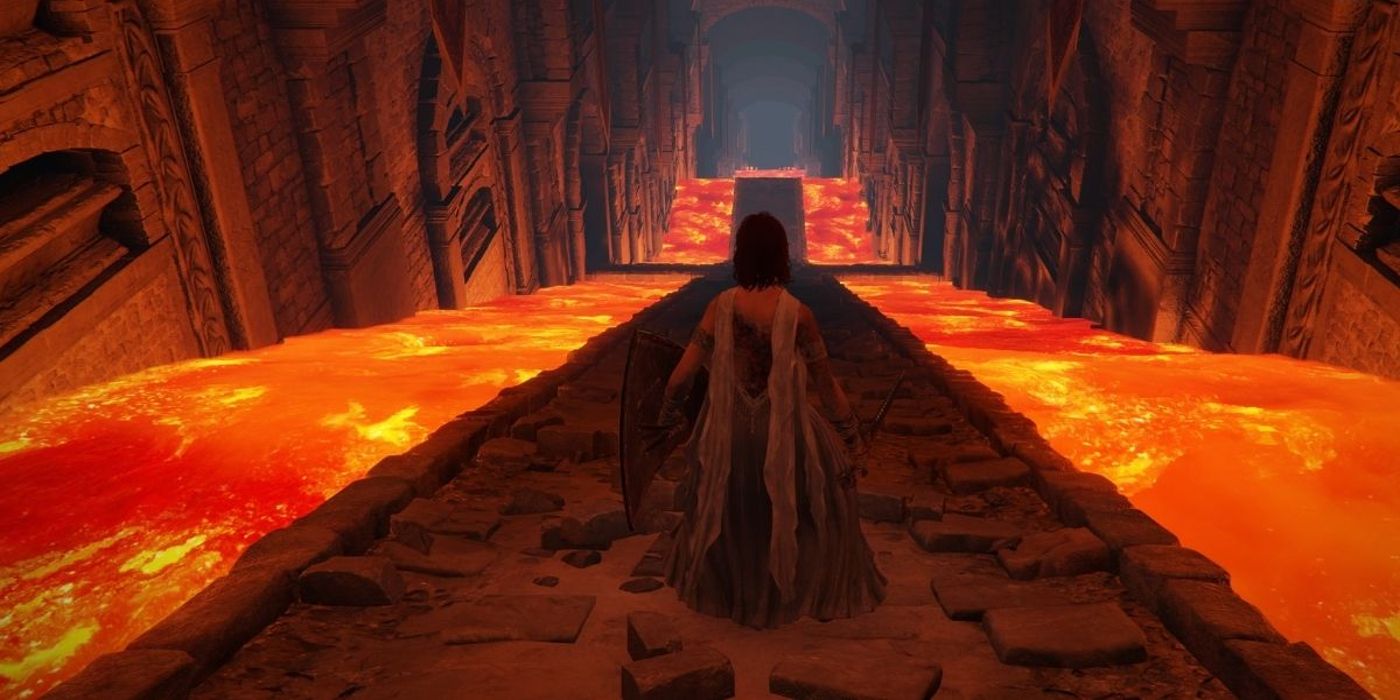
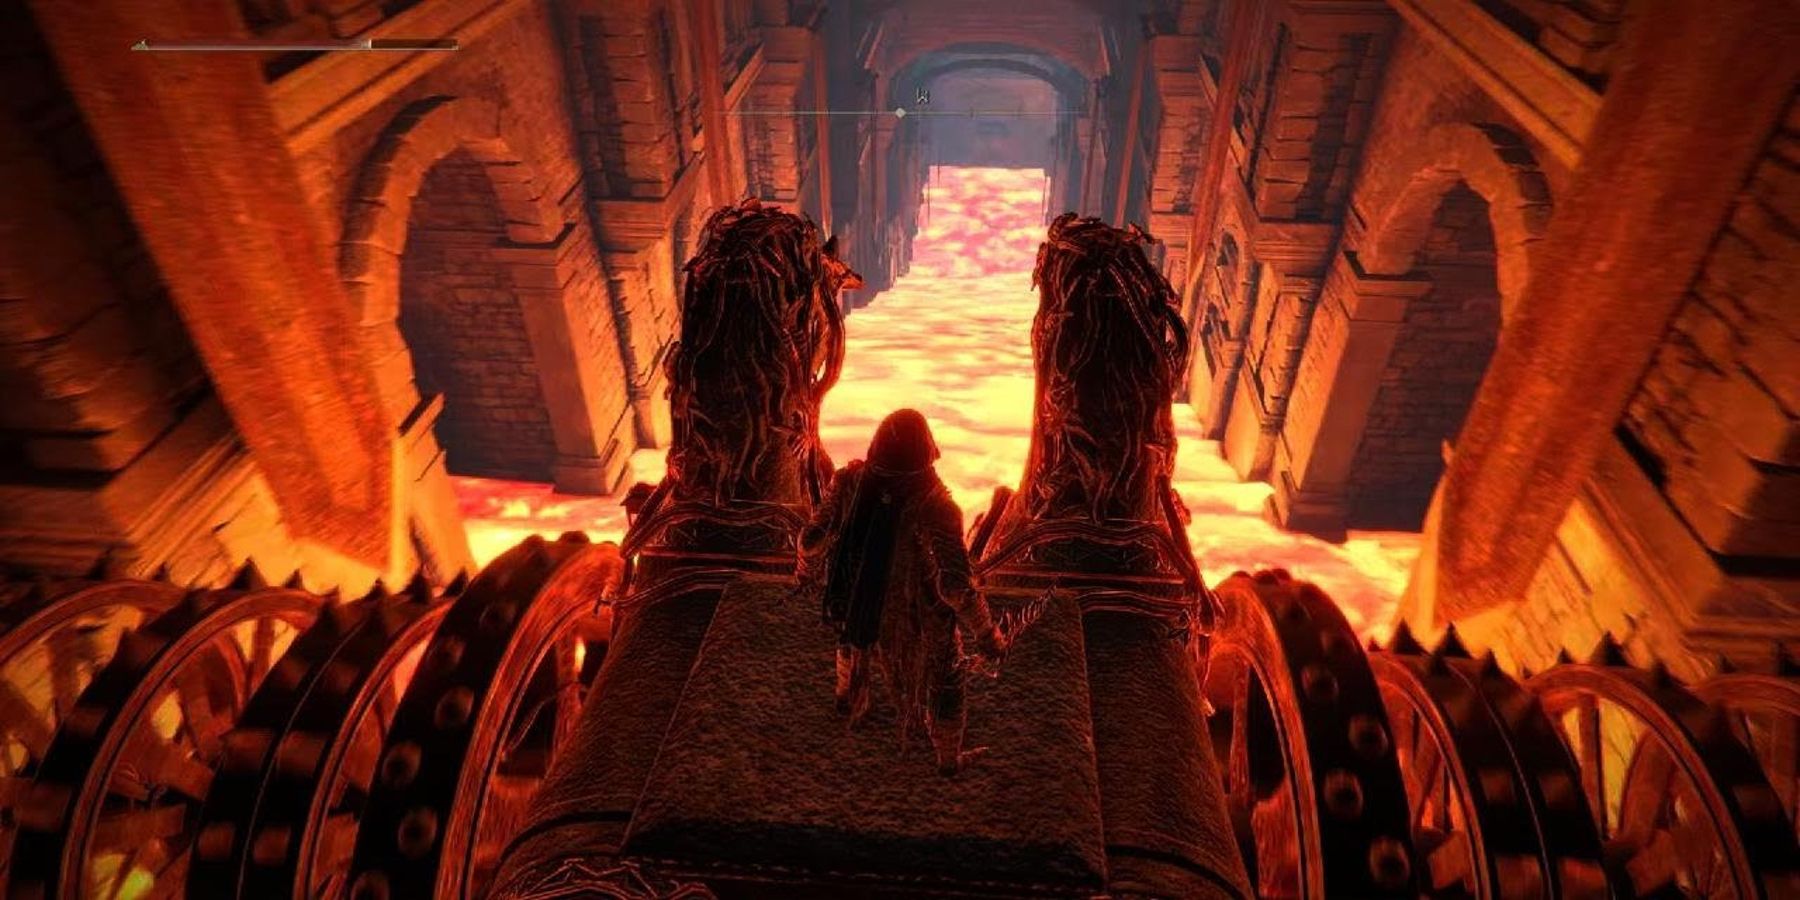
After descending into Gelmir Hero's Grave and visiting the site of grace found below, follow the path which leads to a long, lava-laden descending path. Walking too far down this path volition cause a chariot trap to activate and 2 skeleton enemies to spring from alcoves in the walls.
Look a moment, and then take comprehend in one of these alcoves as the chariot rolls by. Information technology will likely take out the two pursuing skeletons, and, should their bodies land in lava, they will not be able to resurrect. For the unaware, the skeleton enemies must be hitting once more later they've been felled lest they stand again.
Later on the chariot passes, continue down the path and dodge whorl into the alcove on the left. There's a skeleton lying in wait here, so players must be careful. Once the chariot passes once again, information technology will likely take care of the enemy, and, after that, players must caput further down the path and spring into an apse on the right, harboring a bow-wielding skeleton.
While annoying, information technology would be more prudent to take whatever incoming damage from the enemy, as its harm output is negligible compared to the instantly-lethal chariot.
Subsequently the chariot passes, head to the end of the path. Hither, players can plough left to safe or proceed down the river of lava. Doing so is risky, though the Quickstep or Bloodhound Stride ash could be very helpful here.
Those pursuing this path volition want to rest and heal in a minor alcove where the hall turns to the left and then go on to an empty room containing a chest. This contains Elden Ring'southward undeniably odd Ringed Finger Hammer, a relatively weak weapon that scales with Forcefulness and Dexterity, admitting poorly.
Deeper Into The Depths
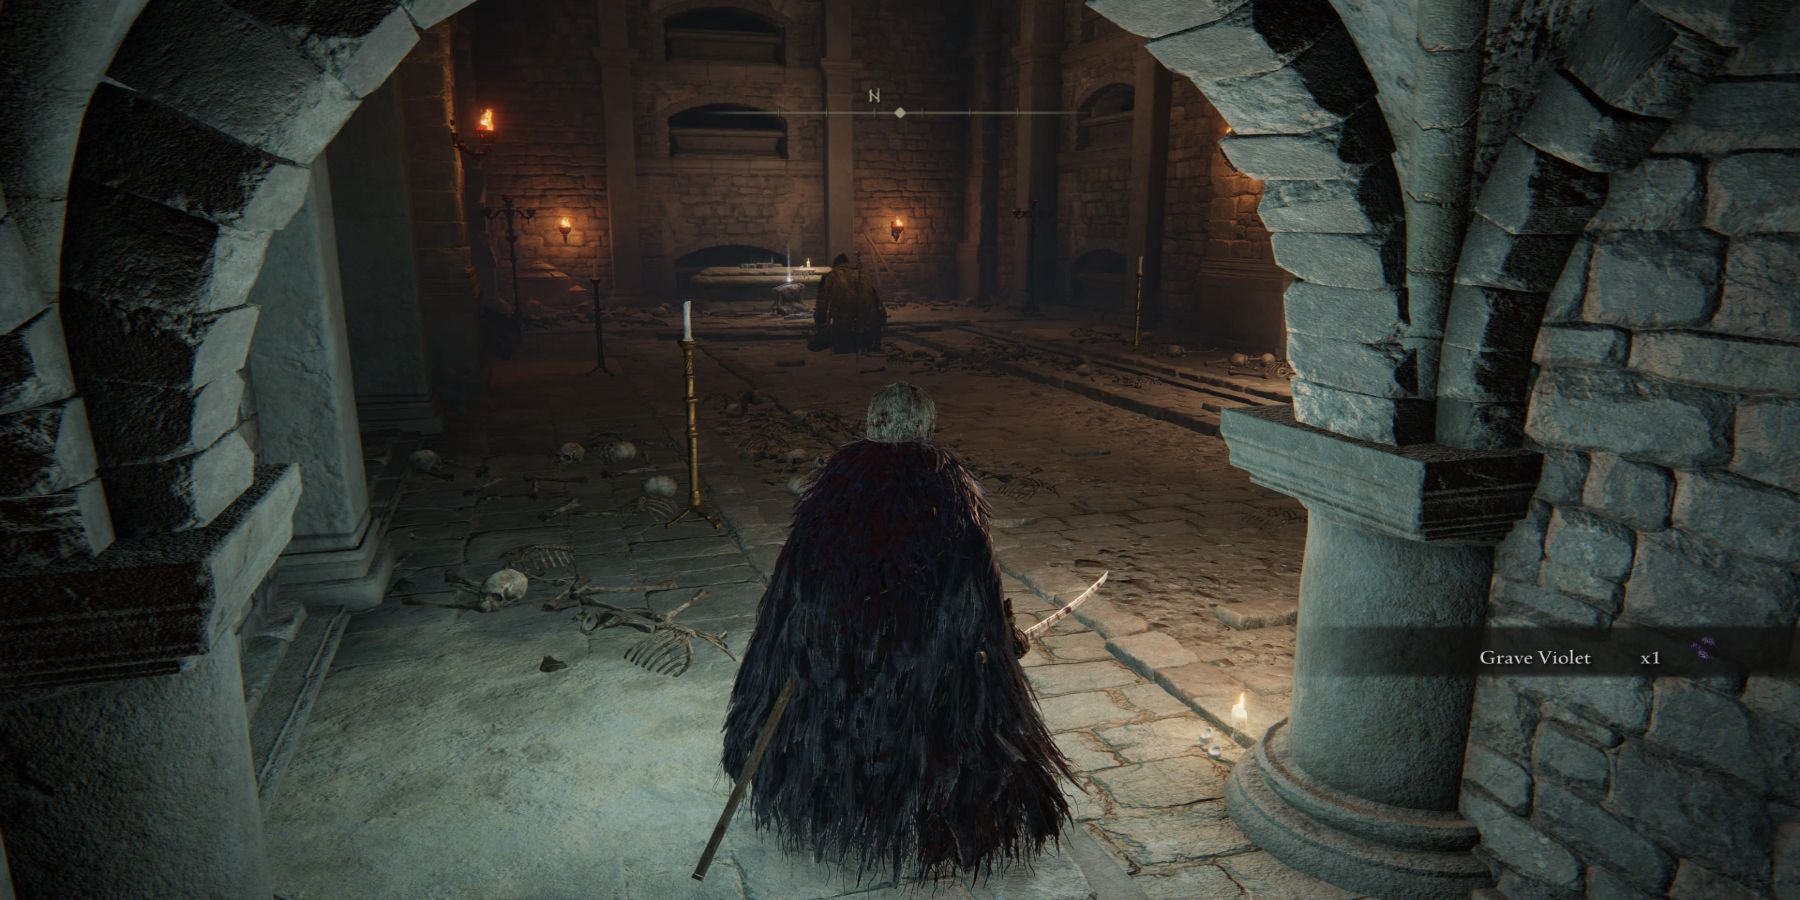
Players who turned left at the end of the path will want to approach the adjacent room with circumspection, every bit an agile enemy is lying in wait to the left just past the entrance. Later on that, at that place'south a torch-bearing baddie in patently sight and a bow-equipped enemy in the darkness in the room's rear. They are easily dealt with, and players can ignore the other enemies in the room, as they only turn hostile unless provoked.
Up the stairs, players will observe some other bow-bearing enemy. Beyond that is a flame-spewing pillar that requires precise timing to slip by. However, once it's accessed, attacking it will cause it to recede into the flooring permanently.
To the right, there's a sleeping accommodation with some unremarkable loot and meager enemies. Heading forrard, however, results in another hallway occupied past a chariot trap. Once it passes, dart to the left, hibernate from it in another skeleton-occupied nook, and so, when the path briefly narrows, carefully drib onto a small ledge below.
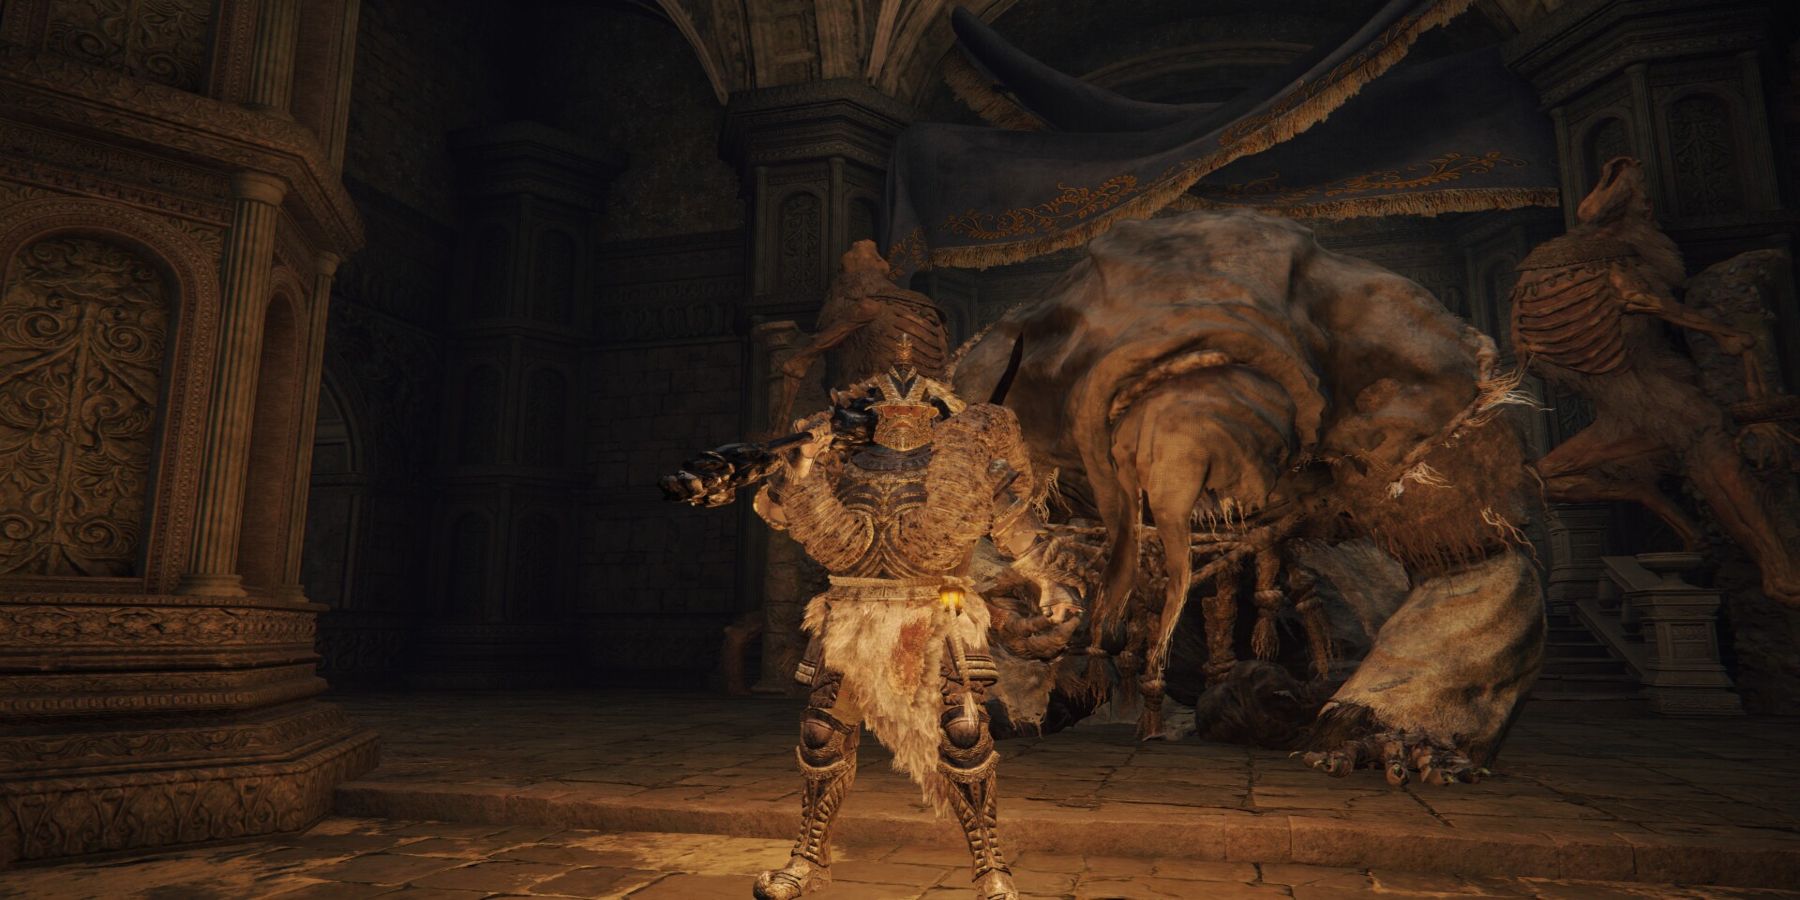
Follow the path into a room containing, at its far end, loot guarded by a Bloodhound Knight. This is the Gelmir Knight Set up, one of Elden Ring's sturdier and more than fashionable armor sets.
From there, continue up the ladder and carefully jump through a window and onto a rafter. Walk to the eye of the bordering rafters and wait for the chariot trap to coil past. It will turn in a semi-circumvolve here, and players must drop onto a small platform atop the trap. Although necessary, this is very dangerous, as a slight miscalculation or botched input volition likely be fatal.
After falling on it, allow the chariot to coil to the bottom of the lava-covered hallway and jump onto a nearby raised platform once information technology reaches its stop. The next room contains a descending staircase that leads to the boss room, allowing for what should be a familiar fight against Raya Lucaria's Ruby-red Wolf of Radagon, now known every bit the Red Wolf of the Champion.
Reddish Wolf of the Champion Dominate Tips
- Every bit previously mentioned, the Spelldrake Talisman +i, institute in Sellia, Town of Sorcery in Caelid, may exist useful here, as it helps to negate harm from incoming magic attacks.
- The Cerise Wolf of the Champion is weak to physical attacks, merely it tin't easily exist bled or frostbitten.
- Equally with all dominate encounters in Elden Ring, those struggling may improve their odds past employing Rune Arcs or Spirit Ashes, such every bit the anointed Mimic Tear Ashes or the Spirit Jellyfish Ashes. Given that the boss doesn't accept all that much HP, a thespian could summon the Spirit Jellyfish Ashes and hack away at the boss while its attending is focused on the summon, defeating it earlier the Jellyfish is felled.
Gelmir Hero's Grave Rewards
Those who've spoken with D, Hunter of the Dead in Limgrave or at Roundtable Hold may have been made privy to a hugger-mugger teleporter that grants them access to the Beastial Sanctum in Caelid. In it resides Animal Chaplain Gurranq, who will grant the Clawmark Seal and Animal Eye in substitution for a single deathroot.
When entering Gelmir Hero's Grave, the Beast Eye will quiver, indicating the presence of deathroot, and deathroot ends upwards existence the ultimate prize for plundering the dungeon. Offering deathroot to Gurranq will yield ever greater prizes, though he generally grants spells and items that are primarily useful to those who've put a few points into Faith.
Elden Ring is available now for PC, PS4, PS5, Xbox One, and Xbox Series 10.

Gelmir Heros Grave Elden Ring,
Source: https://gamerant.com/elden-ring-gelmir-heros-grave-walkthrough/
Posted by: davishadir1943.blogspot.com
0 Response to "Gelmir Heros Grave Elden Ring"
Post a Comment